.webp)


Guide
Get Your Fan Spinning Again: Troubleshooting and Fixing Motor Issues
Why Your Fan Stopped Working (And How to Fix It)
When your fan motor repair becomes necessary, you're usually dealing with one of three main issues: seized bearings from dried lubricant, a faulty capacitor, or a blown thermal fuse. Most fan failures can be diagnosed and fixed at home with basic tools.
Quick Diagnosis Guide:
- Fan is completely dead → Check power cord, switch, and thermal fuse
- Fan hums but blades won't spin freely → Likely a bad capacitor
- Fan hums but blades are hard to turn by hand → Seized bearings need cleaning and lubrication
- Fan runs slow or stops frequently → Deteriorated run capacitor or overheating motor
As one repair enthusiast put it: "We are Indians, whenever we see any minor appliance like table fan, cooler, multiplugs, clock, etc - not working properly, then we get even more excited because now it's the time to release the hidden power of the Engineer sleeping inside us."
Whether you're dealing with a ceiling fan, oscillating pedestal fan, or portable desktop model, the repair process follows similar steps. The most common culprit is dried-out lubricant that turns into thick gunk, causing the bearings to seize up. This happens because fans run for thousands of hours, and eventually that original factory grease breaks down.
The good news? Most fan motor problems are fixable with patience, basic tools, and about an hour of your time. You'll save money, reduce waste, and get that cooling breeze flowing again.

Is Your Fan Motor Failing? Diagnosis and Common Causes
Before we dive into the nitty-gritty of fan motor repair, let's understand the common issues that lead to a fan stopping or malfunctioning. Identifying the problem correctly is half the battle won, and it often comes down to listening to your fan (or lack thereof!).
Telltale Signs of a Bad Motor
Fans give us clues when something is wrong. Here are the most common symptoms we've observed:
- Humming Noises: If your fan hums loudly but the blades don't spin, or spin very slowly, this is a classic sign. It typically points to either seized bearings or a faulty capacitor. If the blades are hard to turn manually, it's almost certainly seized bearings. If they turn freely, it's likely the capacitor.
- Grinding Sounds: This usually indicates mechanical friction within the motor, often due to worn or seized bearings, or possibly something rubbing against the rotor.
- Slow Spinning: A fan that runs slower than usual, even on its highest setting, often has a deteriorated run capacitor. This component helps provide the initial torque to get the motor spinning and maintain its speed.
- Blades Won't Start: If you turn the fan on and the blades don't move at all, but you hear a hum, it's either seized bearings or a dead capacitor. If there's no hum either, the problem is likely electrical, such as a blown thermal fuse, a faulty power cord, or a broken switch.
- Burning Smell: This is a serious red flag. A burning smell indicates that the motor is overheating, possibly due to excessive friction from seized bearings, a short circuit, or a faulty winding. If you smell burning, unplug the fan immediately.
- Overheating Motor Housing: If the motor housing feels excessively hot to the touch, it's a sign of internal problems, often linked to friction or electrical overload.
These signs apply to various types of fans. For instance, a wobbly or noisy ceiling fan can be due to improper installation or an unbalanced fan, but if it has power and the blades won't spin, it could be a wiring issue, potentially a wiring harness problem. Portable fans most commonly suffer from seized bearings due to lack of lubrication, while whole house fans, being more complex, might have issues with thermostats, GFCI breakers, fan shafts, or motor bearings.
Troubleshooting: Humming, Seized, or Dead?
Let's refine our quick diagnosis based on the fan's behavior:

- Seized Bearings: This is the most common failure mode for many fans, especially older ones or those that haven't been used in a while. If the fan hums but doesn't run, and the blades are hard to turn by hand, it's highly probable that the lubricant in the bearings has turned into gunk, causing them to seize. The motor tries to turn, but the friction is too great.
- Bad Run Capacitor: If your fan hums and the blades turn freely when pushed, but the fan won't start or run on its own, the capacitor connected to the motor is likely the issue. This component stores and releases electrical energy to create the necessary phase difference for the motor to start rotating. A common cause of failure for fan motors is a deteriorated run capacitor, leading to slow spinning or complete failure to start.
- Blown Thermal Fuse: If your fan doesn't even hum, the problem could be the motor's thermal fuse, the switch, or the power cord. A thermal fuse is a safety device designed to blow and cut power if the motor overheats, often as a result of seized bearings causing the motor coils to heat up.
- Faulty Power Cord or Broken Switch: These are simpler electrical failures. If there's no power reaching the fan at all, check the cord for damage, ensure it's plugged in, and test the switch.
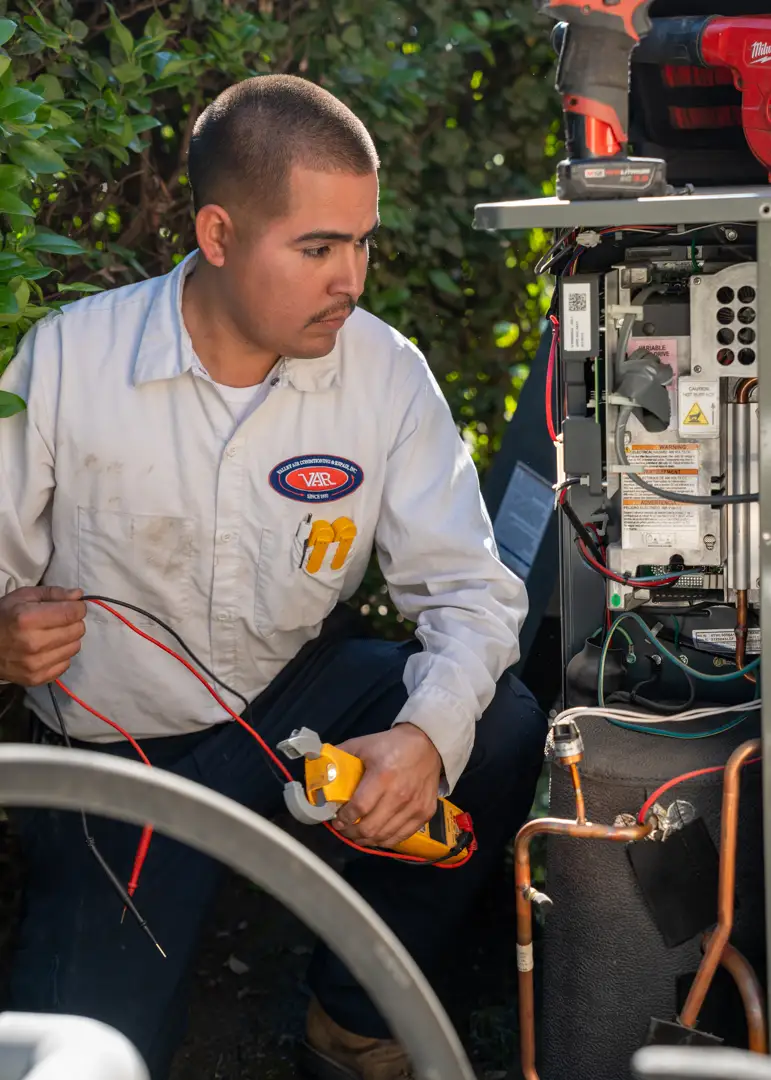
How to Test Electrical Components
To accurately diagnose electrical issues, especially with the capacitor or thermal fuse, we'll need a multimeter.

- Multimeter Usage: A multimeter can test for continuity (whether an electrical path is complete) and capacitance (the ability of a capacitor to store charge).
- Testing the Thermal Fuse: With the fan unplugged and disassembled to access the motor, locate the thermal fuse. It's usually a small, cylindrical component wrapped in insulating material, often near the motor windings. Set your multimeter to the continuity setting (it usually beeps if there's continuity). Place the probes on each end of the fuse. If the multimeter doesn't show continuity (no beep or an "OL" reading), the fuse is blown and needs replacement.
- Testing the Capacitor: This requires a bit more care. First, always discharge the capacitor safely before touching its terminals, as it can store a dangerous electrical charge even when unplugged. You can do this by shorting the terminals with a screwdriver (with an insulated handle) for about 30 seconds. You might see a spark. Once discharged, you can test it.
- With a Capacitance Meter: Some multimeters have a capacitance setting. Simply connect the probes to the capacitor's terminals, and it will display the capacitance value (e.g., in microfarads, uF). Compare this to the value printed on the capacitor. If it's significantly lower or zero, the capacitor is faulty.
- With Multimeter Ohms Setting: If your multimeter doesn't have a capacitance setting, you can use the ohms setting (at least 1K). Connect the probes to the capacitor terminals. A good capacitor will show the resistance slowly increasing as it charges, eventually reaching "OL" (open loop). If it immediately shows "OL" or stays at zero, it's bad.
- For replacement, the capacitor's voltage rating should be at least 250 volts or higher, and the capacitance should be at least 4uF. We've even seen DIY solutions using two electrolytic capacitors of at least 8uF each in series if specific replacements aren't available, but ensuring the voltage and capacitance values match is critical.
Essential Tools and Safety Precautions for Fan Motor Repair
Before diving into your fan motor repair project, let's get organized. Think of this as preparing for a small trip – you wouldn't head out without the right gear and a safety plan, right?
Gathering Your Toolkit
The good news is that most fan repairs don't require fancy equipment. You probably already have many of these tools sitting in your garage or kitchen drawer.
Your Philips head screwdriver will be your best friend throughout this process. Most fan housings and motor screws use this common fastener type. Keep it handy – you'll be using it a lot.
For reaching into tight spaces and handling delicate components, grab a pair of long-nose pliers. These are perfect for manipulating small wires and removing those tiny clips that seem to hide in the most awkward spots. If your fan uses snap rings (circular clips that hold bearings in place), snap ring pliers will save you from a lot of frustration.
Your multimeter is essential for the detective work we discussed earlier. Without it, you're basically guessing whether that capacitor or thermal fuse is actually the culprit.
Now for the magic ingredients – lubricants. 3-in-1 household oil is a reliable choice that provides long-lasting protection for bearings. White lithium grease is another excellent option that stays put and handles temperature changes well. For cleaning off old, gunky lubricant, you might need something stronger like methyl hydrate or acetone.
If you need to replace a thermal fuse, you'll want a soldering iron and solder along with wire strippers. Don't worry if soldering sounds intimidating – it's simpler than you think, and we'll walk you through it.
Keep plenty of rags or paper towels on hand. Fan motors can be surprisingly grimy, and you'll appreciate having clean-up materials within reach. Small brushes or cotton swabs help get into those detail areas where dust loves to hide.
Safety First: Working with Electrical Appliances
Let's talk safety without being preachy. Electricity deserves respect, but it shouldn't scare you away from a perfectly doable repair.
Unplugging the fan is your absolute first step. No exceptions, no shortcuts. Even if you're "just taking a quick look," unplug it first. This simple habit will keep you safe throughout the entire process.
Discharging the capacitor is crucial and often overlooked. Even with the fan unplugged, that capacitor can pack a surprising punch. Use an insulated screwdriver to short the terminals for about 30 seconds. You might see a small spark – that's normal and exactly what we want to happen in a controlled way.
Choose a dry, well-lit workspace for your repair. Your kitchen table works great, or a clean garage workbench. Good lighting helps you see those tiny wires and components clearly, preventing mistakes that could cause problems later.
Be extra gentle with motor coil wires. These thin wires are surprisingly fragile and can break if you're too rough during disassembly. If one snaps, your repair just became much more complicated.
After completing your repair, don't just plug it in and walk away. Run the fan for about 30 minutes while keeping an eye (and nose) on it. Any burning smells, unusual heat, or strange noises mean it's time to unplug and double-check your work.
For more detailed guidance and additional safety tips, check out this helpful fan fix guide that covers various scenarios you might encounter.
Taking your time and being methodical beats rushing through any day. Your fan motor repair will be more successful when you're properly prepared and safety-conscious.
The Step-by-Step Guide to Fixing Your Fan Motor
Now that we've got our tools ready and safety covered, it's time for the actual fan motor repair. Don't worry – while every fan looks a bit different, they all follow the same basic pattern: take it apart carefully, fix what's broken, and put it back together.
The secret to success? Go slow and take pictures as you work. Trust me, when you're staring at a pile of screws and wondering where that little spring came from, you'll thank yourself for those photos!

Step 1: Disassembly and Accessing the Motor
Think of this like unwrapping a present – except you need to remember exactly how to wrap it back up again. Removing the fan cage comes first. Most cages have a few screws or clips holding them in place. Once that's off, you'll see the fan blades.
Here's where it gets tricky: removing fan blades often involves left-hand threads. That means you turn the nut clockwise to loosen it – the opposite of what feels natural. It's designed this way so the spinning motion of the fan doesn't accidentally loosen the blade. If you're turning counterclockwise and it won't budge, try the other direction.
With the blades off, you can remove the motor housing screws. These are usually on the back or sides of the plastic housing. Some fans split in half, others have a single back panel. Every manufacturer does it differently, so this is where those reference photos really help.
Taking photos during disassembly isn't just helpful – it's essential. Snap a picture before you remove each component. Your future self will appreciate the roadmap when it's time to reassemble everything.
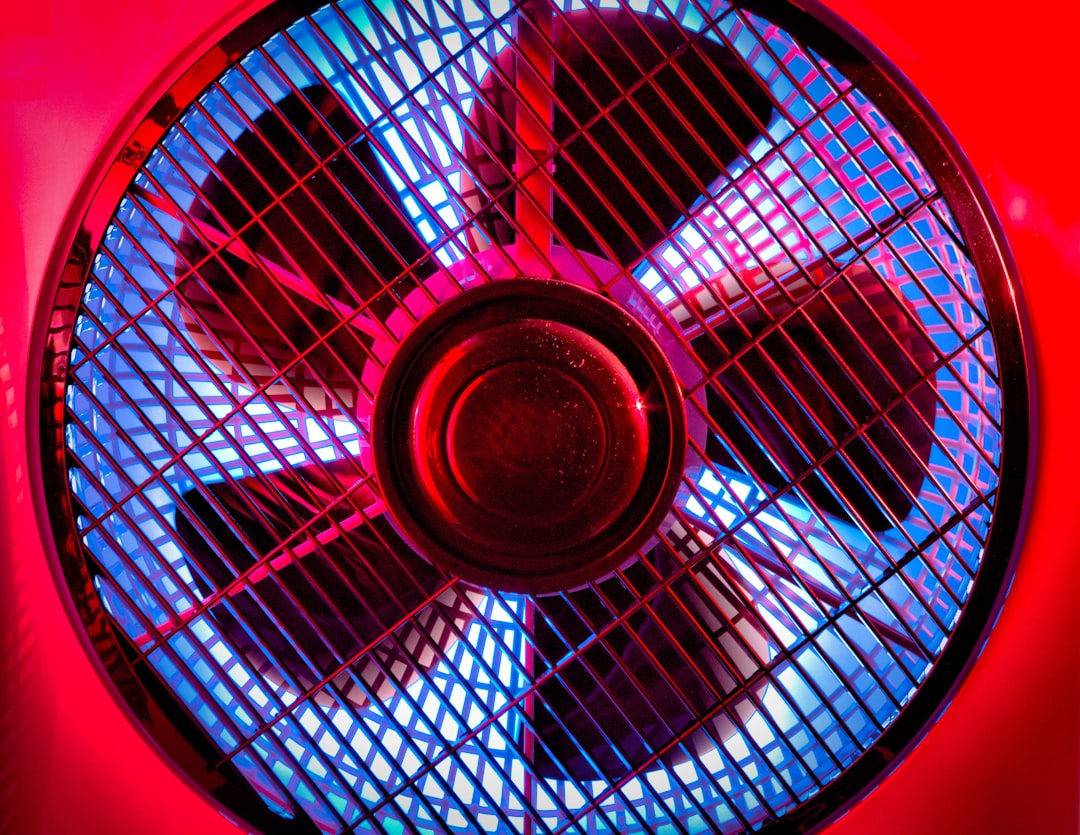
Step 2: The Most Common Fan Motor Repair: Cleaning and Lubrication
Here's where we tackle the number one fan killer: seized bearings. Over time, the factory lubricant turns into something that looks like peanut butter and acts like glue. No wonder your fan can't spin!

If your fan was humming but the blades felt stiff when you tried to turn them by hand, this is your problem. The dried-out lubricant has basically cemented the shaft in place.
You'll need to open up the motor itself – usually four screws hold the casing together. Be extra gentle here because those motor coil wires inside are as delicate as Christmas ornaments. Once you can see the shaft and bearings, the real detective work begins.
Cleaning the shaft and bushings is like archaeology – you're digging through layers of old, gunky grease to find the smooth metal underneath. Use acetone or methyl hydrate on a rag to dissolve all that sticky mess. The bronze bushings (that's what the shaft spins in) need the same treatment. Some fans have little felt pads that soak up oil – if they're crumbly and gross, replace them with small pieces of cotton.
Applying new lubricant is the fun part. A few drops of 3-in-1 oil or white lithium grease on the shaft and inside the bushings will bring your fan back to life. Don't go crazy – a little goes a long way. Too much lubricant can actually attract more dust and dirt.
Re-aligning bearings might be needed if things don't spin smoothly after reassembly. Sometimes you need to gently tap the shaft from different angles while rotating it until everything lines up perfectly. It's like coaxing a stubborn puzzle piece into place.
Step 3: Replacing a Faulty Capacitor or Thermal Fuse
If cleaning didn't solve your problem, we're dealing with electrical components. Don't panic – these repairs are straightforward once you know what you're looking for.
Identifying the capacitor is easy – it's that cylindrical thing that looks like a small can. Before you touch it, write down the numbers on its side: the capacitance (uF) and voltage ratings. You'll need to match these exactly when buying a replacement.
Wiring a new capacitor is usually just a matter of disconnecting two wires from the old one and connecting them to the new one. Most fan capacitors aren't picky about which wire goes where, but if you're unsure, mark the wires before disconnecting them.
The thermal fuse is trickier to find – it's usually buried near the motor coils under some insulation. It's a small, heat-sensitive safety device that cuts power if the motor gets too hot. When soldering a new thermal fuse, here's a pro tip: clamp a metal keyring or alligator clip onto the fuse wire between the fuse and where you're soldering. This acts as a heat sink and prevents your brand-new fuse from blowing while you're installing it.
For more detailed guidance on these electrical repairs, check out this helpful resource: See how to repair a fan that won't turn.
Step 4: Reassembly and Testing
This is where all your careful photography pays off. Following disassembly steps in reverse sounds simple, but it's easy to get confused when you're looking at a pile of parts.
Before you close everything up completely, ensure the shaft spins freely by giving it a turn with your finger. It should rotate smoothly without any catching or grinding. If it binds up, something's not aligned properly – don't force it.
Check for binding as you tighten screws. Plastic parts can warp if you over-tighten them, which can pinch the motor shaft. Snug is good; gorilla-tight is bad.
Once everything's back together, it's time for the moment of truth. Plug in and test all speeds – low, medium, high, and any other settings your fan has. Listen carefully for unusual noises or vibrations that weren't there before.
The final step is monitoring for overheating or unusual noises during a 30-minute test run. Stay nearby and keep your nose alert for any burning smells. A properly repaired fan should run quietly and stay cool to the touch. If something seems off, unplug it immediately and double-check your work.
There's nothing quite like the satisfaction of bringing a dead fan back to life with your own hands. Plus, you've just saved money and kept another appliance out of the landfill – that's what we call a win-win!
Repair or Replace? When to Call It Quits
Sometimes the hardest part of fan motor repair isn't fixing the fan – it's deciding whether you should fix it at all. We've all been there, staring at a disassembled fan wondering if we're throwing good time after bad money.
The truth is, most fan repairs are absolutely worth doing. There's something deeply satisfying about bringing a "dead" fan back to life, especially when you realize how simple the fix often is. Plus, you're keeping perfectly good metal and plastic out of the landfill.
But let's be realistic about when repair makes sense and when it doesn't.
Assessing the Damage and Cost
The math on fan repair usually works in your favor. A thermal fuse costs less than a dollar. A replacement capacitor runs just a few dollars. Even if you need to replace bushings or do more extensive cleaning, you're typically looking at minimal parts costs.
The real investment is your time. A basic fan motor repair might take 40 minutes if you're handy with tools. More complex issues could eat up a few hours, especially if you're learning as you go.
Compare that to replacement costs, which can range from twenty dollars for a basic portable fan to several hundred for a quality ceiling fan or whole house system. When you put it that way, spending an evening tinkering with a seized bearing starts looking pretty smart.
Here's the reality check: some fans just aren't worth saving. If you're dealing with a really cheap fan that's had multiple failures, or if the motor windings are visibly burnt and charred, you're probably looking at what repair folks call a "junk motor." These low-quality motors might run for a few months after repair, then fail again in a different way.
The sweet spot for repair is a decent-quality fan with a single, identifiable problem. Seized bearings from dried lubricant? Absolutely worth fixing. A blown thermal fuse on a fan that's been running strong for years? Easy decision.
One thing to keep in mind: after you repair a fan, especially one with bearing issues, you might need to give it a drop of oil annually to keep it running smoothly. It's not a big deal, but it's worth knowing upfront.
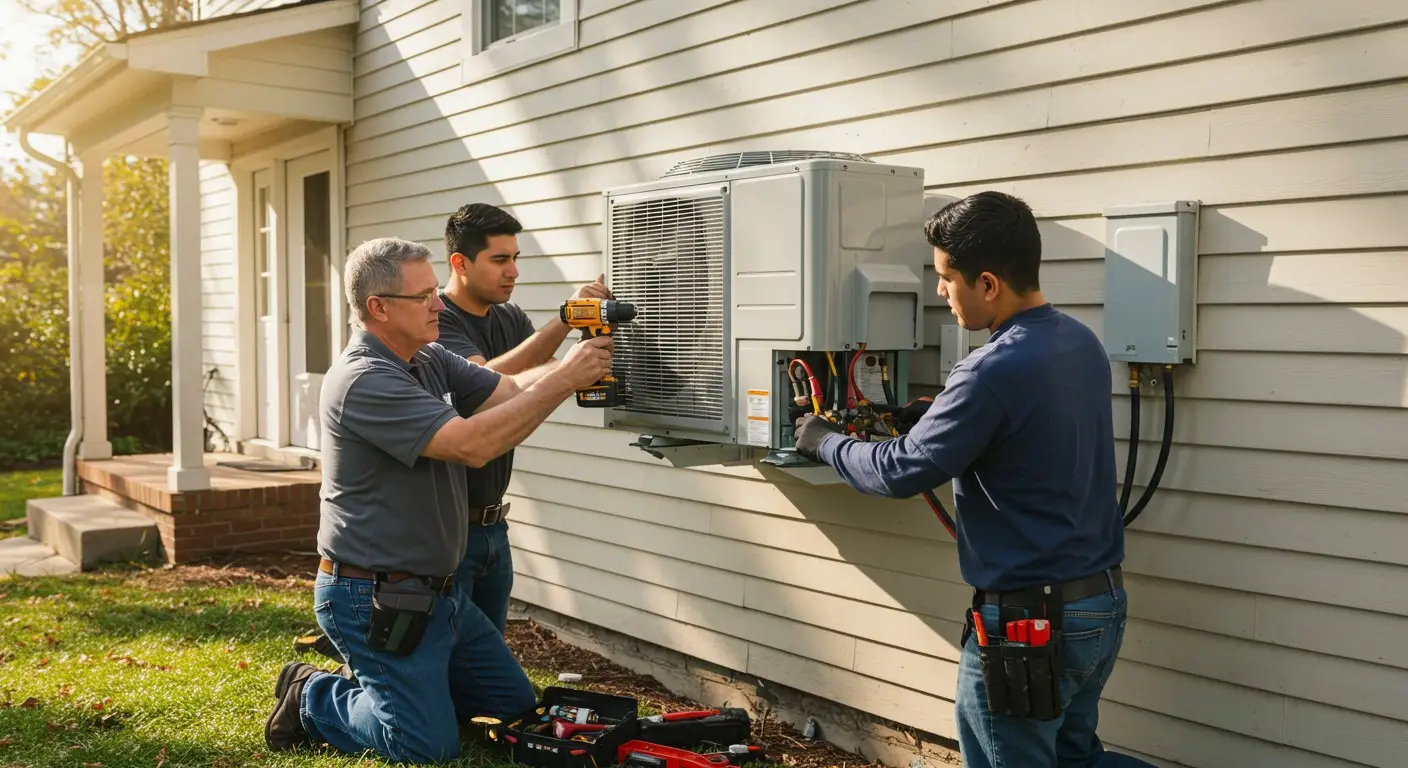
When a Professional Repair is the Best Option
We're big fans of DIY repairs (pun intended), but sometimes calling in the pros is the smart move. Your safety always comes first.
Complex wiring issues are a clear signal to step back. If you open up your fan and find a mess of wires you can't identify, or multiple broken connections that don't make sense, it's time to call a certified electrician. The few dollars you'd save on parts isn't worth the risk of an electrical fire.
Can't figure out what's wrong? Sometimes the problem isn't obvious, even after testing components. Maybe the fan runs but makes weird noises you can't trace, or it works intermittently in ways that don't match the common failure patterns. A professional has seen it all and can often spot issues that aren't obvious to the rest of us.
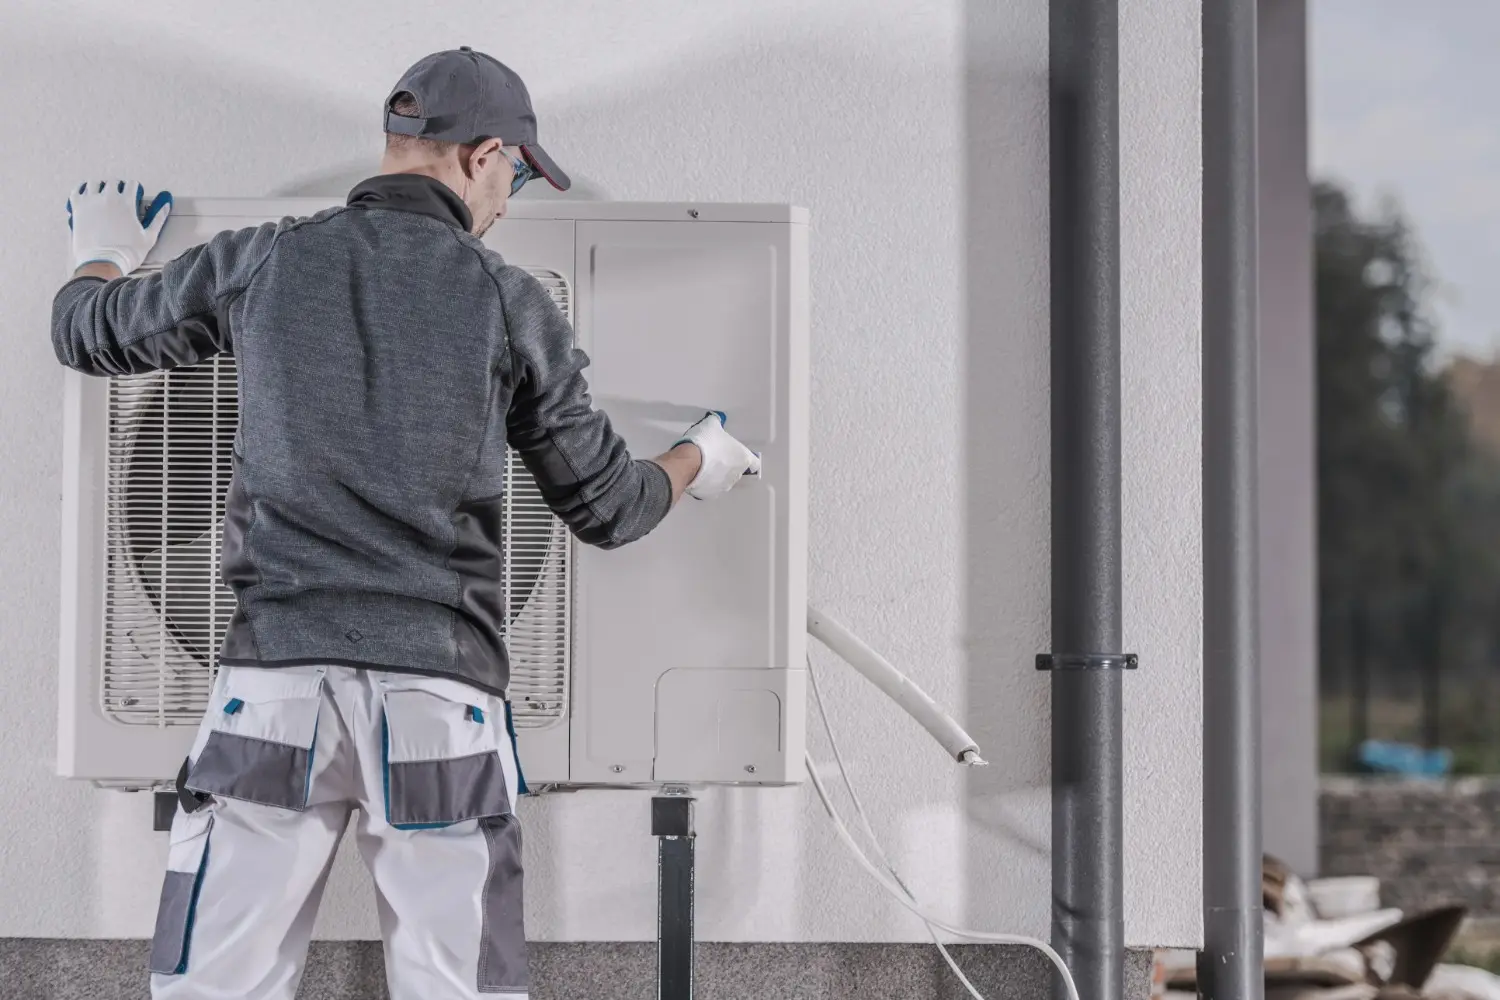
Whole house fans and HVAC-integrated systems are almost always professional territory. These aren't simple portable fans – they're part of your home's larger cooling system. A mistake here could affect your entire HVAC system, leading to much bigger repair bills down the road.
The same goes for any fan that's hardwired into your home's electrical system. Ceiling fans, bathroom exhaust fans, and whole house fans should generally be serviced by someone who knows electrical codes and safety requirements.
When in doubt, don't. If you feel uncomfortable at any point during the diagnosis or repair, there's no shame in seeking expert help. We've all heard stories of DIY projects that started simple and ended up costing more than professional repair would have in the first place.
For comprehensive care of your home's entire cooling system, including professional diagnosis of complex fan and blower motor issues, schedule a professional AC tune-up in Fresno. Sometimes the best DIY decision is knowing when to call the pros.
Conclusion
There's something deeply satisfying about bringing a dead fan back to life. Whether you've just cleaned some gunky bearings, replaced a blown thermal fuse, or swapped out a faulty capacitor, successful fan motor repair gives you that wonderful "I fixed it myself!" feeling. Plus, you've saved money and kept another appliance out of the landfill.
Most fan problems really do come down to those three main culprits we've covered: dried-out lubricant causing seized bearings, a deteriorated run capacitor, or a blown thermal fuse. With basic tools and a little patience, these repairs are well within reach for most homeowners.
But here's the thing - while fixing a table fan or ceiling fan is a great DIY project, your home's larger cooling systems are a different story entirely. When it comes to your central air conditioning unit, whole house fans, or complex HVAC systems, that's where professional expertise makes all the difference.
At Valley Air Conditioning & Repair, Inc., we've been keeping Valley homes comfortable since 1970. Our customer-first philosophy is built on trust and honorable intentions - the kind of reputation that grows through word-of-mouth over five decades. We understand that your home's cooling system is more than just individual components; it's an integrated system that needs expert care.
From Fresno to Clovis, Madera to Sanger, and everywhere in between - including Biola, Caruthers, Coarsegold, Del Rey, Dinuba, Fowler, Friant, Kerman, Kingsburg, Laton, Lemoore, Madera Ranchos, O'Neals, Parlier, Reedley, Riverdale, and Selma - we're here when you need professional HVAC services.
So go ahead and tackle that broken fan motor with confidence. But when it comes to keeping your entire home cool and comfortable, schedule a professional AC tune-up in Fresno and let us handle the bigger picture. Your future self will thank you when that summer heat wave hits!
Recent Posts
Customer Testimonials

As a business with many AC units, it is essential to have a responsive AC company. Valley Air Conditioning understands our needs. They are always responsive and our AC is up and running very quickly.
I had them do an AC check on the home I was buying, they were honest and quick. I hired them to do the summer and Fall maintenance for $149. Happy with this company!
100% recommend. I called, same day they came out and gave me estimate. Conley was honest and didn't try to recommend/sell us anything we didn't need. When I called him with questions before making a decision, he happily answered and was not annoyed by me contacting him. Conley and VAR
This is a group of good people. Very professional and knowledgeable. They take the time to listen and find the best solution that fits best for any situation. There's no way you can go wrong in choosing VAR.
We have used Valley Air for over fifteen years. The last two years ,Matt came to our house to service twice a year. Always on time, so polite and so professional. This is a very honest company and you can always depend on them and trust them. The office always treats everyone cheerfully and always want to do what you need done very fast YOU CAN COUNT ON THIS Company
Blogs
Stay updated with our latest blog posts.