.webp)


Guide
Zone Out: Mastering Your Home's Climate with Smart Systems
Why Smart Thermostat Setup Is Worth Your Time
Smart thermostat setup is an impactful home upgrade you can tackle yourself in 20-30 minutes. Here's a quick overview:
Quick Setup Overview:
- Turn off power at the circuit breaker
- Remove old thermostat and photograph the wiring
- Label wires using provided stickers
- Mount new baseplate and connect wires
- Attach display and restore power
- Connect to Wi-Fi and download the companion app
- Configure schedules and smart features
Most homeowners find this a straightforward project. As one installation guide notes, "Most homeowners can easily install a Google Nest thermostat on their own in just 20-30 minutes when they follow the Nest app's step-by-step instructions."
The benefits are significant. Smart thermostats can save up to 15% on heating and cooling costs through intelligent scheduling. You'll gain remote control, automatic temperature adjustments, and detailed energy reports.
The biggest wins include:
- Lower energy bills through optimized heating and cooling
- Complete control from your smartphone, even when traveling
- Automatic adjustments that learn your daily routine
- Increased home value (81% of buyers prefer homes with smart technology already installed)
The installation is simpler than most expect, especially with modern app-guided instructions.

Preparing for Your Smart Thermostat Installation
Preparing for your smart thermostat setup saves time and frustration. It involves gathering a few tools, taking safety precautions, and checking your system's compatibility.

Gather these basic tools before you start: a Phillips-head screwdriver, a level, a pencil, and your smartphone. You might also need a drill with a 3/32" bit for drywall.
Here's the most important part: always turn off the power to your HVAC system at the circuit breaker before touching any wires. This protects you and your system. Skipping this step can blow a furnace fuse, so it's a crucial safety measure.
Checking Your System's Compatibility
Most homes have low-voltage systems compatible with smart thermostats, but it's always wise to double-check before buying.
The main thing to watch out for is high-voltage systems like electric baseboard heaters. These are identifiable by thick wires or wire nuts at your current thermostat. Standard smart thermostats are not compatible with high-voltage systems, and connecting them can be dangerous.
Before you disconnect anything, take a clear photo of your existing wiring. This photo is your roadmap for the installation.
Most manufacturers offer online compatibility tools to check if their thermostat will work with your setup. This step prevents compatibility issues during installation. You can find helpful resources like this Manufacturer's compatibility checklist to guide you.
What is a C-Wire and Do I Need One?
The C-wire often causes confusion during smart thermostat setup. Let's clarify its role.
The C-wire (or "common wire") provides continuous 24-volt power to your smart thermostat. Unlike older thermostats, smart thermostats need constant power for features like Wi-Fi and a color screen.
To find your C-wire, look for a wire connected to a terminal labeled "C" on your old thermostat's baseplate. Don't go by wire color alone; the terminal label is what matters.
Most smart thermostats work best with a C-wire. Some models can run without one by charging an internal battery when your system operates. However, without a C-wire, the internal battery may not stay charged during mild weather, leading to connectivity issues.
No C-wire? No problem. Many manufacturers offer Power Extender Kits that can repurpose an existing wire to work as a C-wire. This adds complexity but is doable for confident DIYers.
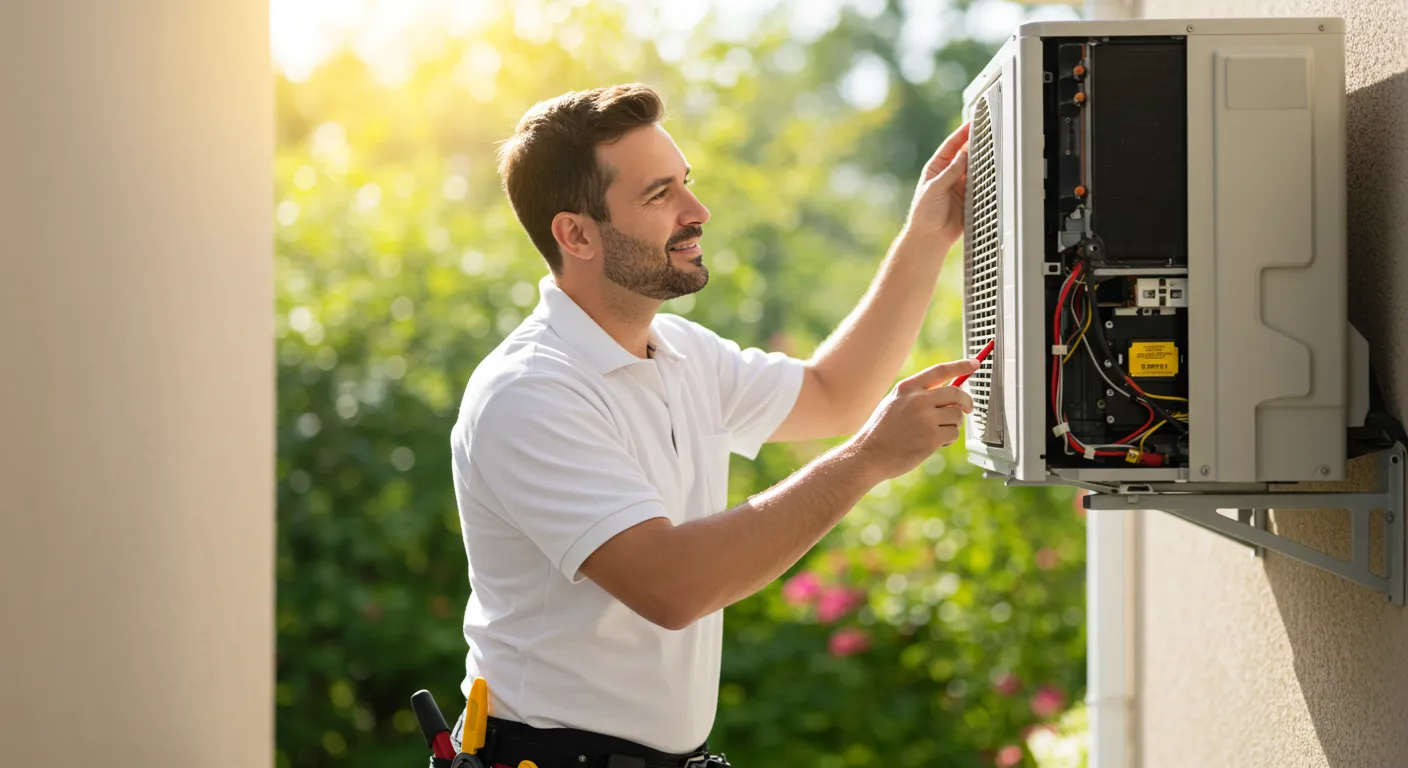
If working with your furnace's control board seems daunting, professional installation offers peace of mind. Our team at Valley Air Conditioning & Repair has helped homeowners with these installations since 1970.
Your Step-by-Step Smart Thermostat Setup Guide
The actual smart thermostat setup is straightforward if you take it one step at a time. Success depends on careful wire labeling and patient mounting. Keep the photo of your old wiring handy and don't rush.

Step 1: Removing Your Old Thermostat
This step requires being methodical and safe.
Start by turning off the power at your circuit breaker. This is a critical safety step. To confirm the power is off, try adjusting your old thermostat; it shouldn't respond.
Next, remove the faceplate from your old thermostat. Most faceplates pop off, but some have clips or hidden screws. Check how yours is attached before forcing it.
Here's the most important step: photograph everything before you touch a single wire. This photo is your insurance policy if you need to reinstall the old thermostat.
Now for the wire disconnection and labeling. Your new thermostat should come with stickers. Label each wire based on the terminal it's connected to (like R, G, or Y), not its color. Wire colors vary, but terminal labels are universal. Remove any jumper wires; smart thermostats handle these connections internally.
Finally, remove the old backplate. Unscrew it from the wall, being careful not to let the wires fall back into the wall. Wrap the wires around a pencil to keep them accessible.
Step 2: Wiring and Mounting the New Thermostat
Now, install the new smart thermostat. Your preparation will pay off here.
Start by positioning the new backplate. Feed your labeled wires through the center opening. Use a level to make sure it's straight, then mark the screw holes with a pencil.
If you're mounting into drywall, use the provided wall anchors. Drill pilot holes (usually 3/32 inch). If you hit a wall stud, you won't need anchors.
Pull your labeled wires through the center opening of the mounted backplate.
Time for the wire connections! Match each labeled wire to its corresponding terminal on the new backplate. Most have push-in terminals. Push the wire firmly into the correct slot and give it a gentle tug to ensure it's secure.
Here's what common terminal labels mean: The R wire (or Rh/Rc) is your 24-volt power. The C wire is for continuous power. G controls your fan, Y handles cooling, and W manages heating. For heat pumps, you might see O/B terminals for the reversing valve and Aux/E terminals for auxiliary heat.
Step 3: Completing the Physical Installation
You're in the home stretch.
Tuck any excess wire length back into the wall cavity so nothing interferes with mounting.
Attach the display or faceplate to the mounted backplate. Push firmly until you hear a click, which confirms it's properly seated.
Head back to your electrical panel and restore power to your HVAC system. Your new smart thermostat will come to life. It may take a moment to boot up, as it's a small computer.
Connecting and Configuring Your System
Now that you've mounted your thermostat, it's time for the final part of your smart thermostat setup: connecting to Wi-Fi and configuring its smart features.

Once connected, you can adjust your home's temperature from anywhere. This is especially convenient whether you're stuck in traffic on a hot Fresno afternoon or just relaxing in bed.
Connecting to Wi-Fi and the App
When your thermostat first boots up, it may take a moment, which is normal. The initial boot-up screen will walk you through basic setup questions, like language preference. Some thermostats can even detect and alert you to wiring issues at this stage.
Following the on-screen prompts, select your home's Wi-Fi network. Connect to your 2.4GHz Wi-Fi network, as most smart devices require it. Enter your password carefully.
While it connects, grab your smartphone and download the companion app (e.g., Google Home, Ecobee). The app is your main control center.
Creating your account is straightforward; signing in with an existing account (like Google) can speed up the process. The app will then guide you through pairing your device, often by scanning a QR code on the thermostat's screen. The process is user-friendly, but note that some systems have time limits for pairing.
How to Maximize Energy Savings with Your Smart Thermostat
Now, let's maximize your energy savings.
Your thermostat's learning features are a key capability. After about a week, many smart thermostats create a custom schedule based on your habits.
Setting up smart schedules gives you more control. Through the app, you can program different temperatures for different times. Once programmed, it's automatic.
Away mode and geofencing offer the biggest savings. Your thermostat can detect when the house is empty (using sensors or your phone's location) and switch to an energy-saving mode. It can then return your home to a comfortable temperature before you arrive.
The recommended temperature settings from the U.S. Department of Energy can maximize savings. They suggest 68°F in winter and 78°F in summer when you're home. Adjusting these by 7-10 degrees when you're away or asleep can save up to 10% on energy costs.
Your thermostat's energy reports act as a report card for your home's efficiency, showing usage patterns and suggesting ways to save more.
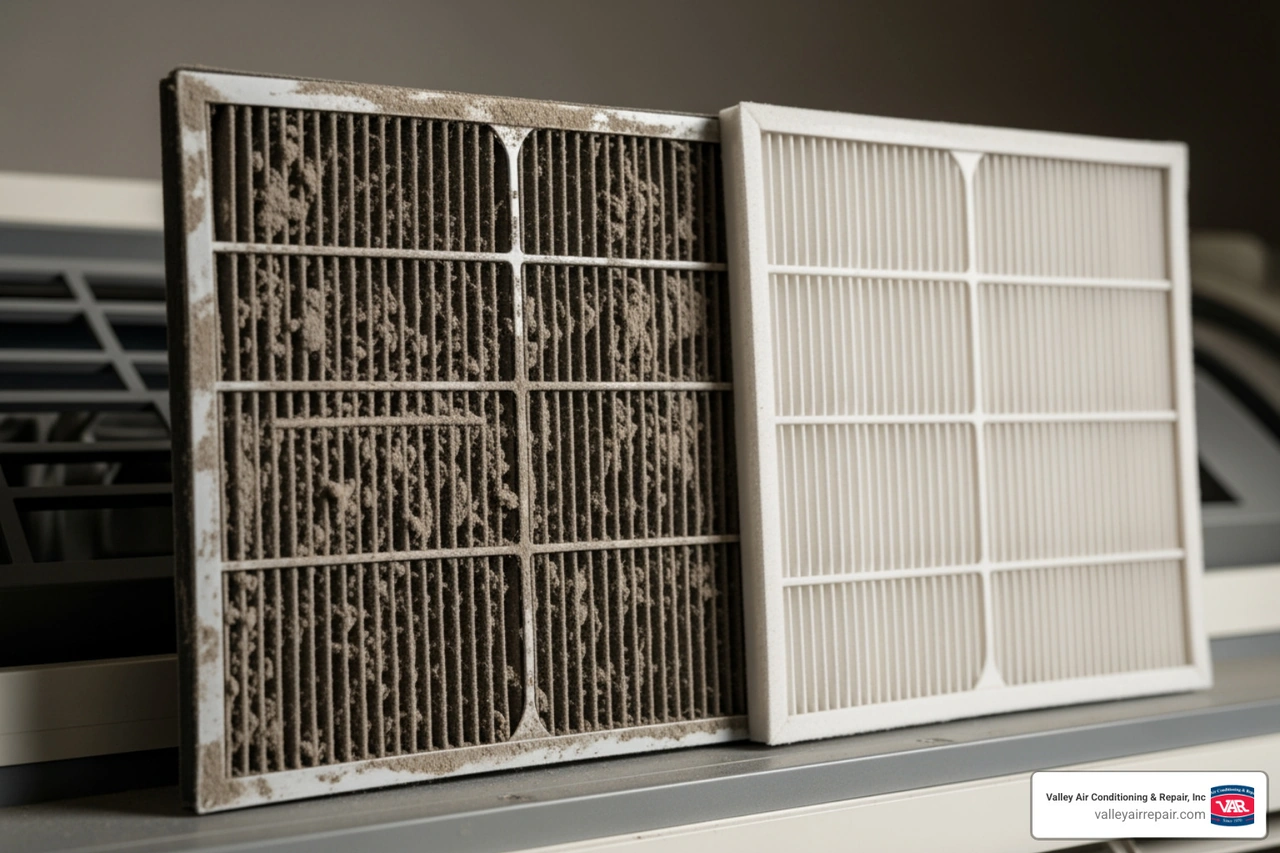
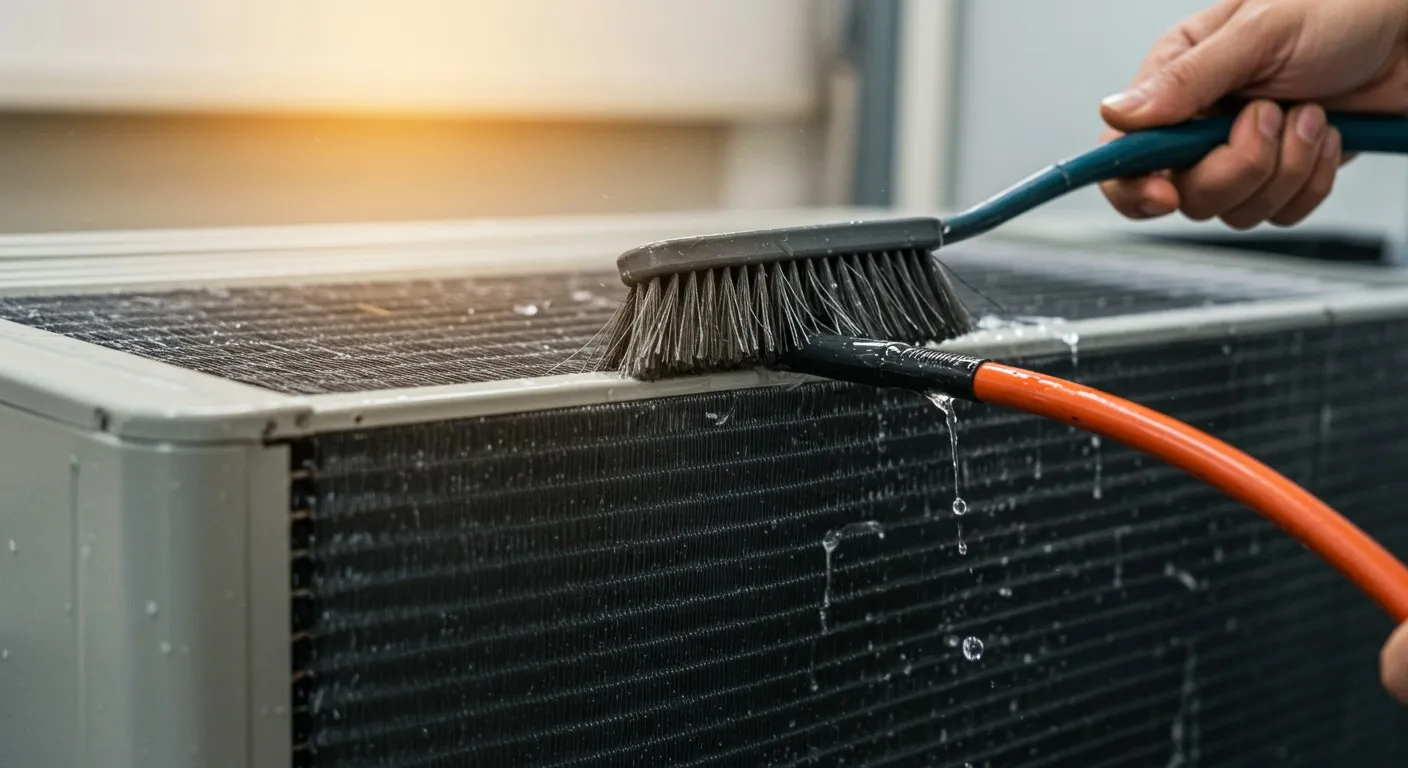
Don't forget regular maintenance and updates. Keep the firmware current via the app and ensure the thermostat's sensors aren't blocked, as this can affect temperature readings.
Troubleshooting and When to Call a Professional
Even a well-planned smart thermostat setup can have issues. Most are easy to fix, but sometimes calling our experienced HVAC professionals is the smartest choice for your peace of mind.
Common Smart Thermostat Setup Issues
No power to your thermostat? This frustrating issue is usually fixable. Double-check that your HVAC circuit breakers are on. If a C-wire is required, ensure it's securely connected at both the thermostat and the furnace. If you didn't turn off the power before starting, you might have blown a small 3A or 5A fuse on your furnace control board.
Getting weird temperature readings? Location is key. If your thermostat is in direct sunlight, near a draft, or next to a heat source like a lamp, it will give inaccurate readings. The ideal spot is on an interior wall, with its sensors unblocked.
System turning on and off constantly? This short cycling is often a wiring problem. Double-check your wiring, as a loose connection can cause this. It could also be a settings issue with the cycle rate.
Wi-Fi keeps dropping out? Your thermostat might be too far from your router. Re-enter your Wi-Fi password and ensure you're on the 2.4GHz network. Restarting your router can often fix this.
Keep your old thermostat until the new one works perfectly. You can reinstall it if you need to troubleshoot.
When is it Best to Hire an HVAC Professional?
While DIY smart thermostat setup is empowering, sometimes a professional is necessary. Our team at Valley Air Conditioning & Repair, Inc. knows when to call for help.
Complex wiring situations are a key reason to call a pro. Our technicians can configure multi-stage heating/cooling systems properly the first time.
Dual-fuel or multi-stage systems require precise setup. Incorrect configuration can lead to high bills, poor comfort, or system damage.
High-voltage systems are absolutely a no-go for DIY. If you see signs of a high-voltage system (thick wires, wire nuts), stop and call a professional. These systems are incompatible with standard smart thermostats and dangerous to work with.
C-wire installation can be intimidating. If you're not comfortable opening your furnace to install an adapter or run new wiring, we can safely handle it.
Sometimes, you just want the peace of mind of professional installation. It ensures the job is done right and can prevent future repairs. Our team ensures a flawless installation so you can enjoy your new thermostat without worry.
Frequently Asked Questions about Smart Thermostat Setup
Let's tackle the most common questions about smart thermostat setup.
How long does a typical smart thermostat installation take?
Most DIY installations take 20-60 minutes. The time depends on your experience and your system's wiring. First-timers or those with complex systems might need the full hour. Following the manufacturer's app is key, as the instructions are very user-friendly and guide you through each step.
What if my old thermostat's wire colors don't match the new one's instructions?
This is a common question. Wire colors can vary, but their function is based on the terminal they connect to. Always label wires based on the terminal on your old thermostat (e.g., R, G, Y), not by the wire's color. This is why taking a photo of the original wiring is crucial. The terminal labels are standardized, so matching the letters is the correct approach.
Can I install a smart thermostat if my system doesn't have a C-wire?
Yes, you often can, but it's nuanced. Some smart thermostat models can operate without a C-wire by charging an internal battery when the system runs.
However, a C-wire is highly recommended for reliable performance. Without one, you might experience Wi-Fi drops, especially in mild weather when the system runs less frequently and the battery doesn't charge as often.
If you don't have a C-wire, you can use a C-wire adapter kit (or Power Extender Kit). These kits require a small modification at your furnace, adding some complexity. If you're not comfortable with that, our team at Valley Air Conditioning & Repair, Inc. can install a C-wire for you, ensuring reliable power for your thermostat.
Take Control of Your Comfort
Congratulations on completing your smart thermostat setup! Tackling a DIY project like this is satisfying, saves money, and helps you understand your home's comfort system. Soon, you'll notice the convenience, comfort, and energy savings.
Your improved home efficiency means your HVAC system will run more intelligently, which can extend its lifespan. You've also added a valuable piece of technology that integrates with other smart home devices.
However, some situations, like complex wiring scenarios or dual-fuel systems, call for professional expertise. Wanting peace of mind is also a valid reason to call an expert. At Valley Air Conditioning & Repair, Inc., we've helped homeowners since 1970, building our reputation on trust and honest service.
Whether you need help with a tricky installation or prefer a professional to handle it, our experienced technicians are here for you. We understand every home's needs are unique.
Ready to take the next step in your home comfort journey? Schedule your expert HVAC service in Fresno, CA today! We're here to help make your home the perfect temperature, year-round.
Recent Posts
Customer Testimonials

As a business with many AC units, it is essential to have a responsive AC company. Valley Air Conditioning understands our needs. They are always responsive and our AC is up and running very quickly.
I had them do an AC check on the home I was buying, they were honest and quick. I hired them to do the summer and Fall maintenance for $149. Happy with this company!
100% recommend. I called, same day they came out and gave me estimate. Conley was honest and didn't try to recommend/sell us anything we didn't need. When I called him with questions before making a decision, he happily answered and was not annoyed by me contacting him. Conley and VAR
This is a group of good people. Very professional and knowledgeable. They take the time to listen and find the best solution that fits best for any situation. There's no way you can go wrong in choosing VAR.
We have used Valley Air for over fifteen years. The last two years ,Matt came to our house to service twice a year. Always on time, so polite and so professional. This is a very honest company and you can always depend on them and trust them. The office always treats everyone cheerfully and always want to do what you need done very fast YOU CAN COUNT ON THIS Company
Blogs
Stay updated with our latest blog posts.