.webp)


AC Repair in Fresno, CA: Troubleshooting Your Fall HVAC Transition
Why we take fall furnace smells seriously. Get clear answers with these home maintenance tips and troubleshooting for a safe heating startup.
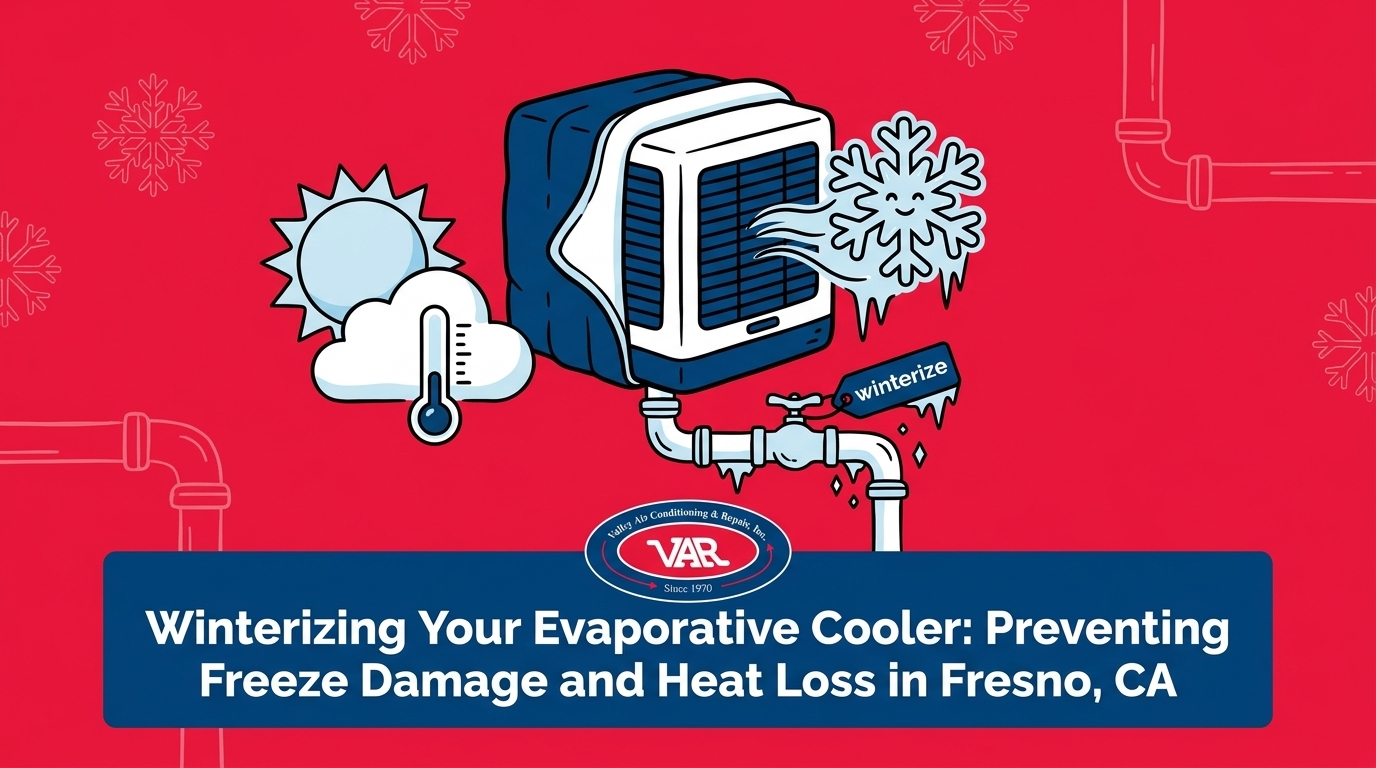
September in the Central Valley means the relentless summer heat is finally breaking, but it also signals the exact moment you need to start winterizing your evaporative cooler to prevent Fresno freeze damage. At Valley Air Conditioning & Repair, our team sees firsthand how rapidly the transition from blistering hot afternoons to chilly autumn nights happens in this region. Many homeowners wait until the first frost warnings hit the local news before thinking about their rooftop cooling units, but by then, the risk of damage has already multiplied. Leaving an evaporative cooler connected and unsealed as temperatures drop inevitably leads to frozen, burst water lines and massive indoor heat loss. The cold air outside doesn't just damage the unit; it actively fights against your furnace.
Executing a proper shutdown is a non-negotiable part of the September pre-heating season transition. By taking action now, you protect your plumbing infrastructure and ensure your home retains the expensive warm air your furnace works so hard to produce. If you need professional assistance with evaporative cooler services or want to schedule comprehensive residential seasonal preparation, our team is ready to help you navigate this transition smoothly.
Fresno's unique climate pattern is notorious for its rapid fall-to-winter temperature swings. You might experience a comfortable 75-degree afternoon, only to wake up to overnight lows that suddenly drop to freezing. Because evaporative coolers rely on a constant supply of water to function, that residual water sitting in exposed rooftop pipes is highly vulnerable. When this maintenance checklist is tackled in early fall, it eliminates the stress of rushing up a ladder on a freezing November morning. Proactive preparation is the key to a seamless seasonal shift.
Understanding the physics behind winter weather is the first step in protecting your property. When water freezes, it expands by approximately 9%. This expansion exerts immense pressure on whatever container holds it. In the case of an evaporative cooler, that container is usually an exposed copper or hard plastic supply line sitting on your roof. This 9% expansion is more than enough to easily burst these lines, leading to significant water leaks the moment the ice thaws. In our years of servicing Central Valley homes, a pattern we see often is that a cracked line goes completely unnoticed until water starts running down the side of the house or pooling on the roof deck.
However, winterizing isn't just about protecting the mechanical components of the cooler; it is equally about stopping expensive winter heating from escaping. An unsealed evaporative cooler acts as a direct, open vent to the outdoors. Because warm air naturally rises, the heat generated by your furnace is pulled straight up through your ceiling registers and out through the cooler's ductwork. At the same time, heavy, cold winter air sinks down into your living spaces, creating uncomfortable drafts and forcing your heating system to run continuously just to maintain a baseline temperature.
• Freezing Water — Mechanical Impact: Ruptured copper/poly supply lines, cracked float valves, and damaged water pans. — Financial Consequence: High emergency plumbing repair bills and potential roof or ceiling water damage. — Prevention Strategy: Draining the pan and purging the supply line before overnight temperatures drop.
• Open Ductwork — Mechanical Impact: Continuous loss of conditioned indoor air; cold drafts entering the home. — Financial Consequence: Spiking winter utility bills due to an overworked, continuously running furnace. — Prevention Strategy: Installing a properly fitted winter damper to block airflow at the duct level.
• Debris Accumulation — Mechanical Impact: Leaves and dirt settling into the wet pan, causing severe rust and corrosion. — Financial Consequence: Premature replacement of the entire cooler housing and rusted internal components. — Prevention Strategy: Cleaning the pan thoroughly and securing a durable exterior winter cover.
At Valley Air Conditioning & Repair, our deep understanding of Central Valley seasonal shifts informs everything we do. We know that completing this checklist in early fall is critical for both equipment protection and winter heating efficiency. By addressing both the water lines and the airflow, you secure your home against the dual threats of the upcoming season.
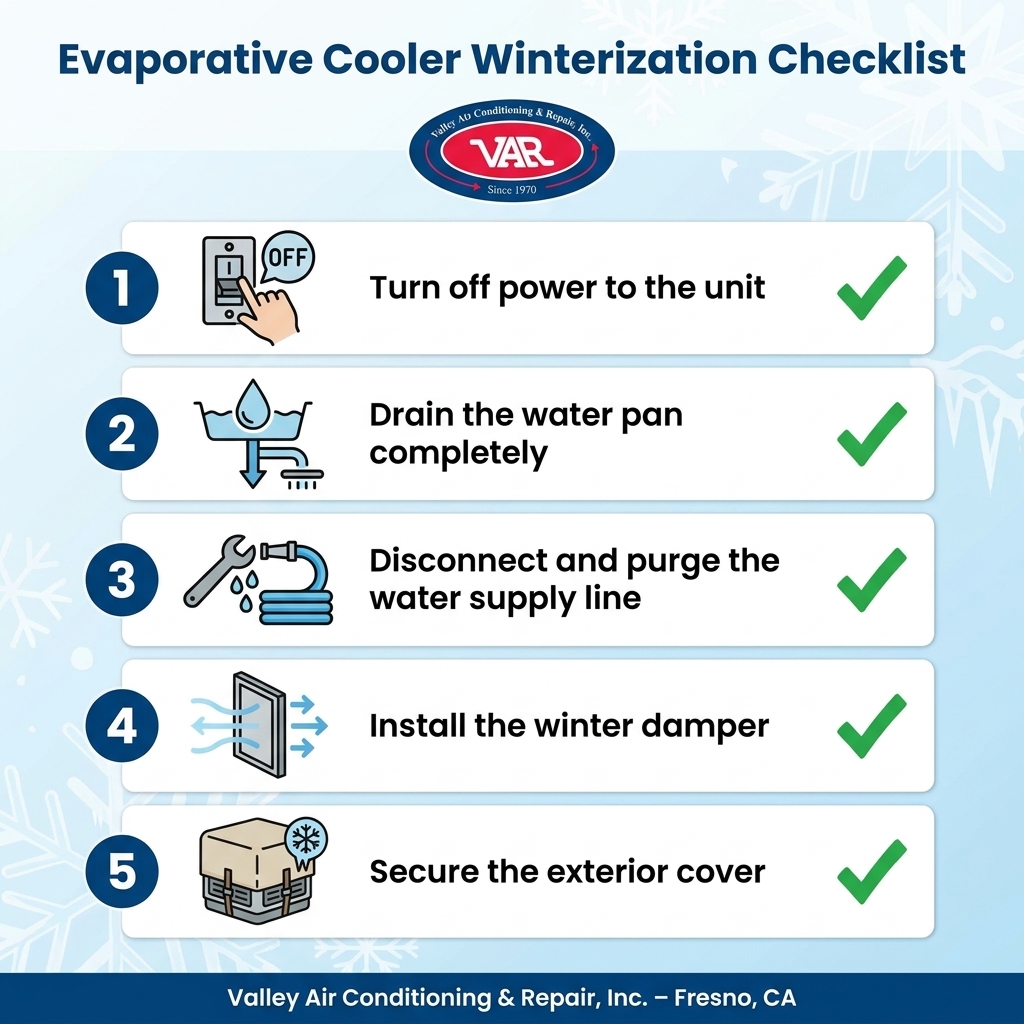
The first mechanical phase of shutting down the system involves removing all standing water from the unit. Whether dealing with roof-mounted or wall-mounted evaporative coolers, the fundamental principles remain the same. Water left sitting in the metal pan over the winter will not only freeze and potentially warp the housing, but it will also accelerate rust and corrosion. A dry unit is a protected unit. Here is how the process is typically handled:
1. Turning off the power at the main breaker: It is never safe to assume the unit is off just because the thermostat is switched down. The process begins at the home's main electrical panel by completely shutting off the dedicated breaker for the cooler. This guarantees that the pump or fan cannot accidentally engage during servicing.
2. Locating and removing the drain plug: One of the louvered side panels is removed to access the interior. At the bottom of the water pan, a drain plug or a stand-up overflow pipe is located and carefully removed to allow the standing water to drain out onto the roof or down the designated drain line.
3. Cleaning out mineral buildup and debris: Once the water has drained, a layer of white scale, calcium deposits, and dirt is usually left in the bottom of the pan. A wet/dry vacuum or scoop is used to remove this sludge, as leaving wet dirt in the pan traps moisture against the metal and guarantees rust by springtime. The pan is then wiped completely dry.
4. Inspecting the water pump: While the pan is empty, the pump is carefully examined. The intake screen is checked for blockages, and the housing is inspected for cracks. Addressing common water pump problems in evaporative coolers during the fall prevents unexpected issues when starting the system up again next summer.
Before any work begins, it is essential to objectively evaluate roof accessibility. We strongly warn homeowners against attempting to service steep or inaccessible roof-mounted units themselves. Walking on a pitched roof is inherently dangerous, and the risk multiplies if there is morning dew or loose shingles. If the unit cannot be reached safely from a stable, properly secured ladder, a licensed professional should be called. Our technicians have the safety harnesses, specialized ladders, and experience required to navigate roof hazards safely.
With the main pan drained, the next priority is the exterior plumbing. The water supply line running from the house to the cooler is entirely exposed to the elements. Because Fresno's winter overnight temperatures frequently drop into the low 30s, an undrained rooftop water line faces a direct, nightly threat of freezing. Isolating the water source is the only way to prevent the line from splitting open.
1. Locating the primary shut-off valve: The origin of the cooler's water supply must be found. This valve is often located near an outdoor hose bib, tapped into a pipe in the attic, or sometimes situated near the water heater. The valve is turned completely clockwise to shut off the flow of water to the roof.
2. Disconnecting the line at the cooler: At the cooler, an adjustable wrench is used to disconnect the copper or plastic supply line from the float valve assembly. This step is critical because even if the water is shut off at the source, water trapped against the float valve can freeze and destroy the brass fittings.
3. Draining and purging the remaining water: Simply shutting off the valve does not empty the pipe; gravity must drain the line. If the line runs horizontally for a long distance, compressed air is often gently blown through the tube to force the remaining water out. Even a small pocket of water left in a low spot can freeze and split the tubing.
4. Coiling and securing the supply line: Once the line is completely dry, the loose end is carefully coiled. It is then secured to the cooler housing or a sturdy roof fixture using zip ties or weather-resistant wire to prevent high winter winds from whipping a loose line against the roof.
The bottom line on plumbing prep: Taking the extra time to fully purge the line saves the massive headache of waking up to a flooded roof and a frantic search for a plumber in the middle of January.
While the first two steps protect the equipment, this final step protects the home's energy efficiency. The winter damper is arguably the most critical component for maintaining indoor comfort during the colder months. Without it, the heating system is fighting a losing battle against the open sky.
1. Understanding the damper's function: A winter damper is a solid metal or heavy-duty plastic plate designed to completely block the duct opening that connects the cooler to the home's interior. It acts as a physical barrier, stopping the natural convection cycle that pulls warm air up and allows cold air down.
2. Locating the damper slot: Depending on the installation, the damper slot is typically in one of two places. For many roof-mounted units, there is a precut slot located just below the unit itself. For other homes, the damper slides into a track located right at the ceiling grille inside the hallway or living room.
3. Sliding the damper into place: The solid plate is carefully slid into the designated track until it seats firmly, instantly blocking airflow. If a damper is warped or missing, it must be replaced to prevent the home's warm air from rising and escaping through the roof.
4. Considering an optional exterior cover: Once the damper is in place, an exterior canvas or heavy-duty vinyl winter cover is often added over the entire unit. While the damper stops the air leak, the exterior cover protects the unit's louvers, motor, and internal components from blowing dust, rain, and debris.
By sealing the ductwork, you ensure that when you turn on your furnace, the heat actually stays inside your living space. If you need assistance ensuring your furnace is ready for the cold weather ahead, exploring professional heating system services is the logical next step after your cooler is safely shut down.
While many homeowners are comfortable handling basic indoor maintenance, it is vital to establish clear boundaries. Any task that requires walking on a steep roof, handling complex electrical connections, or navigating unfamiliar plumbing fittings should be left to a licensed professional. Your safety is always more important than avoiding a service call.
At Valley Air Conditioning & Repair, our technicians typically see the best long-term results when an evaporative cooler shutdown is combined with a comprehensive pre-heating season inspection. Professional technicians don't just drain the water; they spot early signs of wear that an untrained eye will miss. We regularly assess the condition of motor bearings, check the tension on the blower belt, and verify that electrical connections are tight and secure. One local Fresno customer reached out to us last winter needing an annual tune-up and general repairs. By providing reliable, respectful, and thorough service, our team ensured their entire system was fully prepped, meeting all their needs for the season and preventing unexpected breakdowns.
This holistic approach ensures your cooling system is safely prepped for hibernation while simultaneously confirming your heating system is safe to operate. If you prefer the peace of mind that comes with expert oversight, enrolling in an HVAC maintenance plan guarantees that your equipment receives the seasonal attention it requires without you ever having to climb a ladder.
Our team recommends winterizing your system in September or October, well before the first hard freeze hits the Central Valley. Waiting until November drastically increases the risk of overnight temperatures dropping unexpectedly and freezing the water sitting in your exposed supply lines. Proactive early fall maintenance ensures your unit is drained and your home is sealed against cold drafts before heating season begins.
Yes, securing a heavy-duty cover over the unit is highly recommended. While draining the water prevents freeze damage, an exterior cover protects the metal louvers, cooling pads, and internal motor from harsh winter rain, blowing dust, and debris. A properly tied-down cover also extends the lifespan of the metal housing by preventing rust-inducing moisture from settling inside the dry pan.
To drain the unit safely, power must first be shut off at the main electrical breaker. A side panel is removed to access the interior water pan, and the stand-up overflow pipe or drain plug at the bottom is removed. Once the water flows out, a wet/dry vacuum or rags are used to remove the remaining sludge and mineral buildup so the pan is completely dry for the winter.
Failing to winterize leads to two major problems we see constantly: mechanical damage and massive energy waste. The water left in the supply lines and pan will freeze and expand, bursting pipes and cracking valves. Simultaneously, the unsealed ductwork acts as an open chimney, allowing the expensive heat generated by your furnace to escape through the roof while pulling freezing drafts down into your home.
Installing a damper involves sliding a solid metal or plastic plate into a specific track designed to block airflow. Depending on your home's setup, this slot is either located on the roof where the ductwork meets the cooler base, or indoors directly behind the hallway ceiling grille. The damper must be pushed all the way in to create a tight seal that stops warm indoor air from rising into the ductwork.
Absolutely. If the water supply line on the roof freezes and bursts, the subsequent leak often occurs right above the duct opening. When the ice thaws, water can pour directly down the ductwork, ruining drywall, flooding hallway ceilings, and causing extensive interior water damage before you even realize the line has ruptured.
Transitioning your home for the colder months doesn't have to be a stressful ordeal, but it does require timely action. Draining the water pan, disconnecting the exterior supply line, and installing the winter damper are essential steps for a smooth seasonal transition. By executing this specific checklist, you completely eliminate the risk of burst pipes and stop your valuable winter heat from escaping through the ceiling.
We know that navigating steep roofs and dealing with plumbing connections isn't for everyone. If you are unsure about your roof's accessibility or simply want the job done right the first time, don't wait for the weather to turn. Schedule your seasonal preparation with Valley Air Conditioning & Repair today to ensure your cooling equipment is safely shut down, your heating system is primed, and your home remains comfortable all winter long.

As a business with many AC units, it is essential to have a responsive AC company. Valley Air Conditioning understands our needs. They are always responsive and our AC is up and running very quickly.
I had them do an AC check on the home I was buying, they were honest and quick. I hired them to do the summer and Fall maintenance for $149. Happy with this company!
100% recommend. I called, same day they came out and gave me estimate. Conley was honest and didn't try to recommend/sell us anything we didn't need. When I called him with questions before making a decision, he happily answered and was not annoyed by me contacting him. Conley and VAR
This is a group of good people. Very professional and knowledgeable. They take the time to listen and find the best solution that fits best for any situation. There's no way you can go wrong in choosing VAR.
We have used Valley Air for over fifteen years. The last two years ,Matt came to our house to service twice a year. Always on time, so polite and so professional. This is a very honest company and you can always depend on them and trust them. The office always treats everyone cheerfully and always want to do what you need done very fast YOU CAN COUNT ON THIS Company